
Trekking safety guide: weather, navigation and emergency preparedness

When we decide to head out for a walk in nature, most of us picture the views, the fresh air and a good route. When we get ready, we usually plan the shoes we’ll wear, our pack and the food we’ll take. But trekking safety isn’t just about wearing the right shoes or throwing a waterproof into your pack.
A sunny morning can turn within a few hours. Even with a fully charged phone and a power bank, your signal can vanish in an instant. A minor twisted ankle, which wouldn’t seem like much in a town centre, can become a serious problem on terrain where you’re hours from the nearest village.
I’m not telling you this to put you off hiking. Quite the opposite: the point is to help you prepare properly so that you finish your walks more safely and enjoy them more. Moving safely in nature comes down to three important things:
- Reading the weather correctly
- Knowing enough navigation to follow your route
- Knowing in advance what to do when something goes wrong
In this guide we’ll work through the basics of trekking safety together, from preparing before a hike and interpreting weather forecasts to navigating without phone signal and calling for help in an emergency.
Important note: this guide is meant for basic preparation. For technical mountaineering, winter hiking, high altitude and difficult terrain, information picked up online isn’t enough. On routes like these you need hands-on training and, where necessary, a trained guide to go with you.
Why is safety on a trek different from walking in town?
The answer is actually pretty simple.
When you’re walking in town and get tired, you can sit down in a café or rest on a bench by the road. When you’re thirsty or hungry, water and food are usually easy to get hold of. If you twist your ankle or have some other health problem, your chances of getting help are far higher than they are in nature.
In nature, those things aren’t always there. The main risks you might face on trekking routes are:
- Sudden changes in the weather
- Straying off the route or getting lost
- Not enough water or food
- Falls, sprains and cuts
- Heatstroke or getting dangerously cold
- Crossing streams and slippery ground
- Running out of daylight
- No phone signal or a flat battery
- Wild animals and insects
- The group getting split up
Of course, that doesn’t mean you’ll run into every one of these on every hike. In fact, if you prepare properly, you may never come across many of them. But one of the biggest reasons a small problem grows into a big one in nature is being unprepared.
Say the air turns cool: if you’ve got an extra layer in your pack, you can carry on walking in comfort. If you haven’t, feeling cold, tiredness and struggling to make decisions can follow one after the other. Safety usually doesn’t come from one expensive piece of kit, but from lots of small precautions taken in advance.
1. Research your route before you go
A safe trekking plan doesn’t start on the morning of the hike while you’re packing your bag. It starts a few days before.
A beautiful view you saw on social media or a short video of the route isn’t enough to understand the whole trail. A route that looks easy in photos can turn out to have steep gradients, loose ground, unmarked junctions or water crossings. Before you choose a route, find out the answers to at least these questions:
- What’s the total distance?
- Roughly how much elevation gain is there?
- What’s the estimated time for the route?
- Does it start and finish in the same place?
- Is the trail waymarked?
- Is there phone coverage?
- Are there water sources along the way?
- Are there any stream or river crossings?
- Are there technical or slippery sections?
- Do you need a special permit or to register before entering the area?
- Can you get back before dark?
- Are there other exit points if you have to cut the walk short?
Don’t make your decision on distance alone.
Walking 10 kilometres on flat ground isn’t the same as walking a 10-kilometre route that climbs all the way over stony ground. Elevation gain, terrain, temperature and the weight of your pack can all have a serious effect on you during the walk.
For a route you’ve never done before, the best thing is to check a few different sources. You can look at other users’ recorded tracks in route apps. But remember that everyone’s fitness and experience are different.
A route someone else found pretty easy might push you hard. And it isn’t only about fitness: the season and the weather change things too. Even two people of the same fitness level can experience the same route completely differently in different seasons.
So when you choose your route, always factor in the time of year and the conditions on the day of your walk.
Share your route plan with someone close to you
It doesn’t matter whether you’re walking alone or in a group. Before you set off, send the key details of your route to someone you trust.
Here’s what you might share:
- The route you’re taking
- Starting point
- Estimated start time
- Planned return time
- Number of people in the group
- Where the car is parked
- Other exit points you could use if needed
You could also agree on something like this:
“If I haven’t been in touch by this time, call me first. If you can’t reach me, get help depending on the situation.”
At first you might think this is overdoing it. But taking precautions never hurts.
The key thing here is to set a realistic return time. On a walk, breaks, taking photos and ground that’s harder than expected can all put you behind schedule. So give yourself a reasonable margin.
But if you come back much later than you said on every single walk, the people close to you may eventually stop taking what you tell them seriously. Sharing your route plan won’t stop you getting lost. But if something does go wrong, it can narrow down the search area and help get the rescue started sooner.
2. Don’t just look at the temperature in the forecast
When we check the weather, most of us only look at the temperature on the screen.
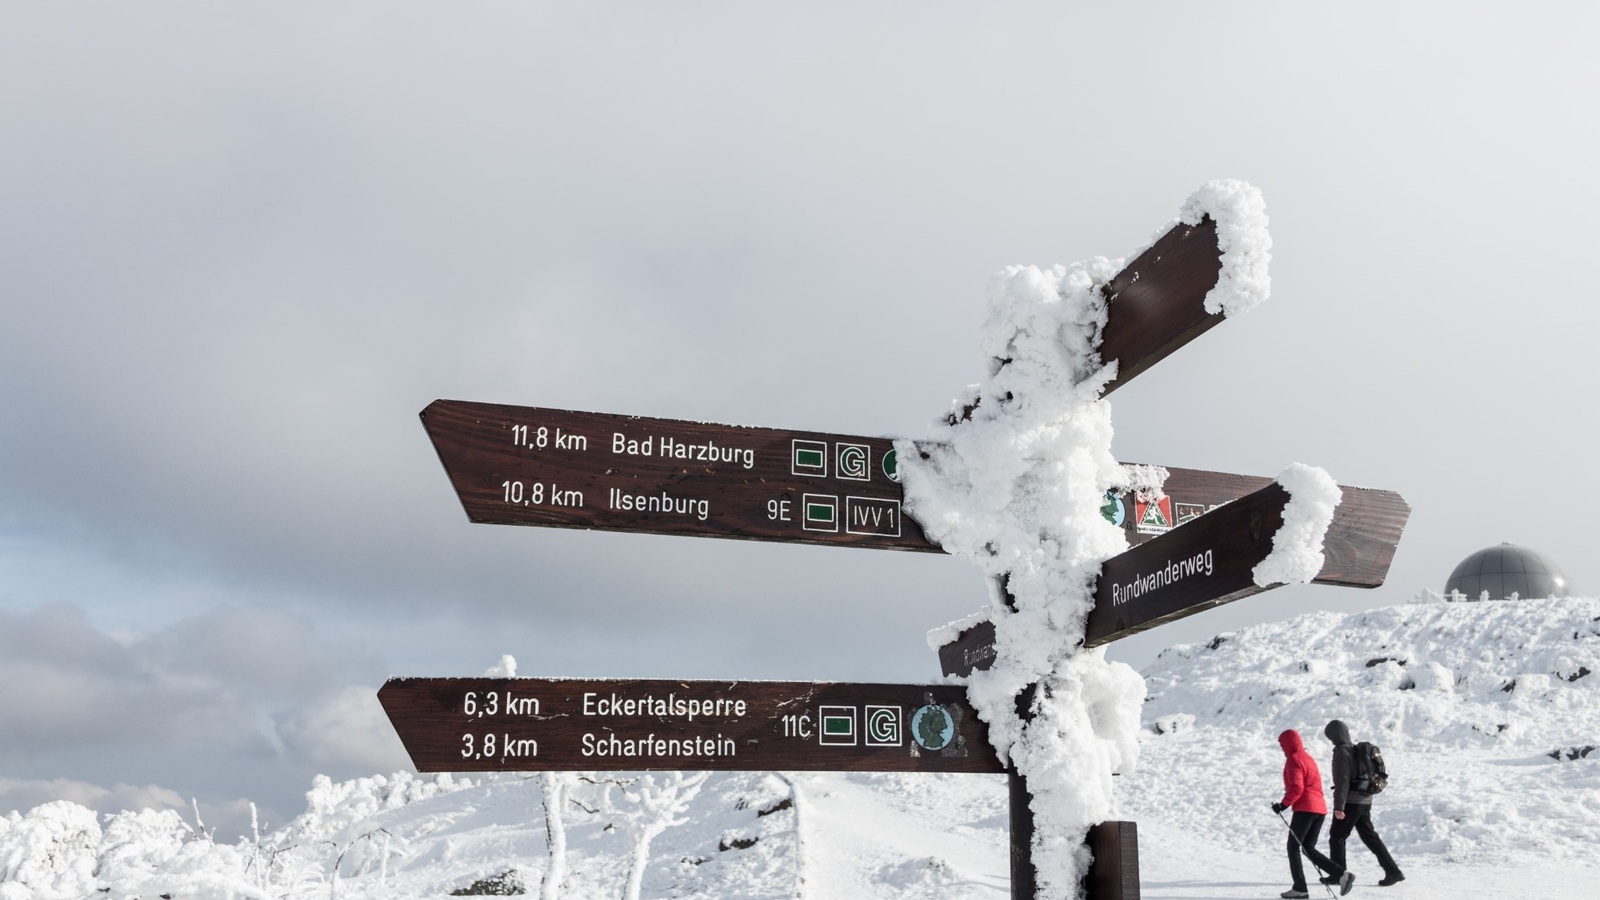
“It’s 24 degrees tomorrow, lovely weather” isn’t a good enough assessment for a day’s hiking. The main things you should check are:
- Chance of precipitation
- What time it’s due to start
- Wind speed and direction
- Wind gusts
- Feels-like temperature
- Humidity
- Visibility
- Storm and lightning warnings
- Sunrise and sunset times
- Conditions on the higher parts of the route
Sudden gusts in particular can make walking harder than forecast on exposed ridges, coastal routes and high ground.
The town forecast and the trail forecast may not match
The forecast you see on your phone is usually for the town or district centre you’ve selected. But if your trekking route is higher up than the town, it may be cooler, windier and with poorer visibility. Weather that feels calm in the valley can feel very different along an exposed ridge.
So don’t just look at the forecast for the nearest town; where you can, check forecasts for the route’s altitude and the areas it passes through. On mountain routes especially, even a few hundred metres of height difference can change what you need to wear. The same goes for races held on mountain trails: at late-season events such as Ida Ultra on 28 November, the weather on the high sections of the route can be very different from the start.
Take care after the rain, not just while it’s raining
Don’t assume the danger has passed once the rain stops.
After rain:
- The ground can go soft.
- Rocks and tree roots can get slippery.
- Streams can rise.
- Muddy sections can block the path.
- The risk of landslides or rockfall can go up.
- Water can suddenly pool in low-lying areas.
On trails through canyons, streambeds and narrow valleys in particular, it isn’t enough to look at the weather where you are. Rain falling further up the route can raise the water level right where you’re standing. Rather than trying to cross water that’s powerful, fast or too deep to judge, turning back may be the right decision. We explain how this risk works, and what data to check before you set off, in detail in our article on flash flood risk in canyons.
When should you postpone your hike?
Cancelling a walk you’ve bought tickets for, travelled a long way for, booked accommodation for and been looking forward to for ages isn’t easy. At times like this, the thought “Let’s give it a go, and if it doesn’t work out we’ll turn back” tends to creep in. But in the following situations you need to postpone the route or pick a safer alternative:
- If there’s a warning for heavy rain or storms
- If there’s a risk of lightning
- If fog is expected that will seriously cut visibility on the route
- If there’s a forest fire warning or a ban on entering the area
- If an extreme heat warning has been issued
- If there’s heavy snow or ice and you don’t have the right gear
- If stream crossings are reported to be unsafe
- If strong winds make it risky to move along exposed ridges
Giving up on a route isn’t failure. One of the most important skills you can learn in nature is being able to turn back when conditions aren’t right.
3. Keep an eye on the weather while you walk
Checking the forecast in the morning doesn’t mean you can stop watching the sky for the rest of the day. Forecasts help, but conditions in nature can change faster than expected.
As you walk, watch out for:
- Clouds darkening quickly
- The wind suddenly changing direction or strength
- Thunder in the distance
- The temperature dropping fast
- Fog closing in and cutting visibility
- Stream water turning cloudy or rising
- Trees swaying dangerously
- The path starting to break up in the rain
A lot of people only decide to turn back once the bad weather has fully arrived. But the best time to turn back may be while it’s still on its way. Being halfway along the route doesn’t mean you have to keep going.
Factor in sunset
Weather apps usually show the sunset time too. It’s worth knowing, but it’s not enough on its own. In woodland, in valleys and on the shady sides of mountains, it can feel dark earlier than the official sunset time.
Remember, too, that as you get more tired, your pace on the way back will drop. That makes the return take longer.
If a route is estimated at four hours, setting off with only four hours of daylight left is risky. Breaks, photos, a wrong turn, a minor injury or a change in terrain can all make the walk longer.
It’s important to have a head torch in your pack. But don’t let “Well, it’s in my bag” become your excuse for setting off late.
4. Dress in layers to be ready for changing weather
On a trek, dressing in layers works better than wearing one thick item of clothing. The basic system usually has three parts:
Base layer
Helps move sweat away from your skin. Cotton T-shirts soak up sweat and can stay wet for a long time, so they can leave you less comfortable in cool, changeable weather.
Mid layer
Helps you hold on to body heat. You can use fleece, synthetic insulated pieces or another insulating layer suited to the conditions.
Outer layer
Protects you from wind and rain. Even if there’s no rain in the forecast, it makes sense to carry a light outer layer on long routes where the weather can change. The advantage of a layering system is that you can adjust what you’re wearing to the conditions as you go.
When you warm up and start sweating on a climb, you can take a layer off, then put it back on when you stop for a break or the wind picks up. One of the biggest mistakes here is waiting until you’re cold before adding a layer. Stopping for a break in sweaty clothes, especially, can make your body cool down faster.
5. Is phone navigation enough on its own?
These days, technology has made trekking navigation by phone a lot easier. With offline maps, GPX routes and GPS positioning, you can see where you are in seconds.

But phones have their limits:
- The battery can run out.
- The charge can drop faster in cold weather.
- It can get wet or break.
- You might not have downloaded the map beforehand.
- The GPS position can drift in narrow valleys or under dense trees.
- The app can crash.
- There may be no signal.
So “I’ve got my phone, I won’t get lost” is the wrong way to think. A phone is a very valuable navigation tool, but it shouldn’t be your only safety plan.
Download an offline map
Having no phone signal in nature is perfectly normal. There isn’t a phone mast everywhere, and trying to open a map online where there’s no signal won’t get you anywhere.
Before your walk:
- Download an offline map of the area in the app you’ll be using.
- Load the GPX route file onto your phone.
- Check that the file actually opens.
- Mark the start and finish points.
- Save the alternative exit points.
- Put your phone in aeroplane mode and test whether the map still works.
That last step matters. You don’t want to think you’ve downloaded the map, only to find halfway through the walk that the app wants an internet connection.
Don’t blindly trust the line on the map
The line on a GPX route isn’t always safe or up to date. The path may have closed or been damaged by a landslide, or private property boundaries may have changed. Some user recordings also include wrong turns or pointless detours.
If the line on the screen is leading you to the edge of a drop, a stream in flood or a closed-off area, don’t carry on just because the track goes that way. In short, we don’t follow the line on the screen blindly. Reading the terrain and making sensible decisions should always come before the navigation screen.
6. Do you still need to know how to use a map and compass?
On short, waymarked and busy routes, most people can finish their walk without ever using a paper map or compass.
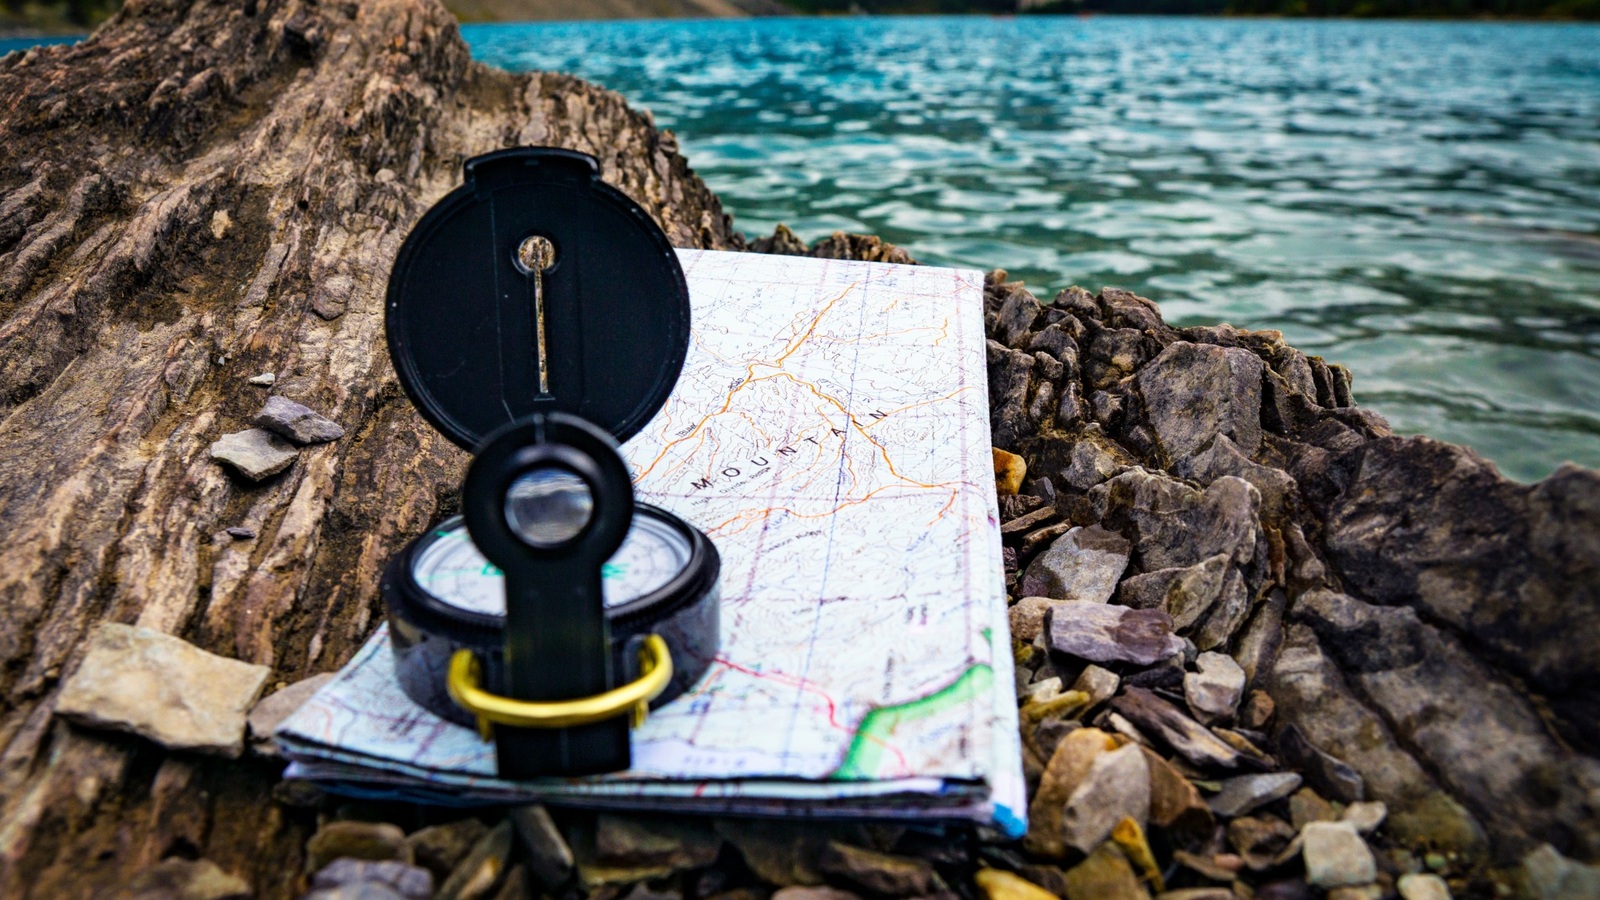
But on longer or unmarked routes, or where there’s no phone signal, basic map and compass skills are an important backup. With technology as advanced as it is, you might wonder why you’d need them. But map, compass and GPS aren’t rivals; they’re navigation tools that complement each other.
At the very least, you should be able to make sense of:
- North on the map
- Your approximate position
- The start and finish points
- Contour lines
- Ridges, valleys and streams
- The general direction of the main path
- Nearby roads and settlements
Carrying a compass in your pack doesn’t keep you safe on its own. If you’ve never used one, trying to learn the moment you get lost can be hard. That’s why doing a basic navigation course and practising somewhere safe before your walk can be worth more than buying an expensive GPS device.
What should you watch for when following waymarks?
Even on waymarked paths, junctions can sometimes be confusing.
These habits will help:
- Every so often, turn round and look at the way you’ve come.
- Don’t rush your decision at junctions.
- Keep track of when you last saw a waymark.
- If you haven’t seen a waymark for a long time, don’t tell yourself “I’ll just go a bit further”.
- Check your position the moment you have doubts.
- Take photos of key junctions.
- Wait for anyone in the group who’s fallen behind.
Looking back along the path is a small but important habit, because the same stretch can look completely different when you’re heading the other way.
7. What should you do if you think you’re lost?
A lot of people panic when they realise they’re lost and start walking faster. That’s one of the biggest mistakes you can make. The more you wander at random, the further you get from the last point you knew, and the harder it is to get back.
If you think you’re lost, you can follow these steps in order:
Stop
First, stop walking. Take a few minutes to calm down and get your breathing under control.
Think
Try to remember the last place where you were sure where you were.
- Where did you last see a waymark?
- Did you cross a stream?
- Which way did you turn at the junction?
- How long have you been heading in a direction you’re not sure about?
Observe your surroundings
Compare the map with the terrain.
- Is there a distinctive hill?
- Which way is the stream flowing?
- Can you see a road, power line or building nearby?
- Can you see your own footprints from the way you came?
Plan
If the way back is clear and safe, head back to the last point you knew, carefully and under control.
If you’re not sure, don’t keep walking in a random direction. If you have signal, call for help. If where you are is safe, staying put can make it easier for search teams to find you.
Moving can be the bigger risk, especially if it’s getting dark, the fog is thickening, or there are drops or slippery ground around you.
8. How should you save your phone battery?
On a walk, your phone is your navigation, your means of communication, your camera and your emergency tool. So don’t drain the battery for no reason. And yes, unfortunately that includes taking photos non-stop.
To save your battery:
- Turn down the screen brightness.
- Close apps you’re not using.
- Download the map for offline use.
- Use aeroplane mode when you don’t need signal.
- In cold weather, carry your phone close to your body.
- Take a power bank on long walks.
- Check the charging cable is in your pack.
- Don’t leave the navigation screen on all the time.
- Set off fully charged.
A power bank is useful, but don’t forget it could be flat too. Always check both your phone and your power bank before a walk. And since you may run into changing weather out there, a waterproof phone case or protective pouch can come in handy.
9. Safety gear to carry in your trekking pack
You don’t pack the same bag for every walk. A two-hour trail close to a village and a remote mountain route don’t call for the same things. Still, for basic safety, these are the items worth considering.
Navigation
- Phone and offline map
- GPX route file
- Paper map
- Compass
Lighting
- Head torch
- Spare batteries or enough charge
A phone torch is no real substitute for a head torch. You have to hold the phone the whole time, your battery drains faster and it’s harder to use both hands.
Weather protection
- Waterproof jacket or suitable outer layer
- Extra mid layer
- Warm hat and gloves, depending on the season
- Sun hat
- Sun cream
- Sunglasses
Water and food
- Enough water for the route
- Extra food for emergencies
- Water filter or purification tablets if needed
A water source marked on the map doesn’t mean there’ll be water flowing that day, or that it’s safe to drink. So plan carefully how much water you take with you.
First aid
- Plasters and sterile gauze
- Elastic bandage
- Antiseptic
- Blister tape or pads
- Personal medication
- Disposable gloves
- Small scissors or a suitable multi-tool
Knowing how to use what’s in your first aid kit matters too. Carrying the kit is no substitute for training. And check every so often that nothing has passed its expiry date, and that you’ve replaced anything you’ve used.
Emergency
- Whistle
- Emergency blanket
- Power bank
- Lighter or another safe way to start a fire
- Small roll of repair tape
- ID
- Emergency contact details
Your safety kit should change with the route, the weather, the season and how long you’ll be out.
10. Is carrying a first aid kit enough?
No. You might have a very thorough first aid kit, and at first glance that sounds good. But if you don’t know how to use what’s inside it, you may struggle in an emergency.
At the very least, it’ll serve you well to learn these topics on a basic first aid course:
- Controlling bleeding
- Sprains and suspected fractures
- Checking consciousness
- Heat-related illness
- Body temperature dropping in the cold
- Bee stings and allergic reactions
- Giving the right information when you call for help
Be careful with medication too. Handing out medicine at random to someone else in the group isn’t right. As for any personal medication you take regularly, carry it in suitable conditions and allow for the possibility of a delay much longer than the walk itself.
11. Trekking safety in hot weather
In summer, some of the biggest risks are dehydration and overheating.
In hot weather:
- Start your walk earlier in the day.
- Avoid the intense midday heat.
- Drink water at regular intervals.
- Don’t wait until you’re thirsty.
- Wear light-coloured, breathable clothing.
- Don’t forget a hat and sun protection.
- Take your breaks in the shade.
- Keep an eye on how everyone in your group is doing.
Symptoms such as headache, dizziness, extreme weakness, nausea and loss of coordination need to be taken seriously.
A “Let’s keep walking, it’ll pass” attitude can make things worse.
How much water you need depends on the person, the temperature, humidity, pace, distance and elevation gain. So rather than relying on a single litre figure that’s meant to work for everyone, it’s better to plan around the conditions on your route.
12. Trekking safety in cold and wet weather
Cold isn’t only something you run into in winter. On the higher sections of a trail, on windy ridges or after rain, you can get cold quickly even on a summer’s day. Wet clothes and wind can make your body lose heat faster.
So:
- Manage how much you sweat.
- Think carefully about wearing cotton, depending on the conditions.
- Change out of wet layers if you can.
- Pick a spot sheltered from the wind for breaks.
- Keep your extra layer in a dry part of your pack.
- Carry your waterproof where you can get at it easily.
- As soon as you start to feel cold, act; don’t wait.
Signs such as uncontrollable shivering, slurred speech, loss of balance and confusion need to be taken seriously. In a situation like this, simply walking faster may not be the answer. The person may need to be sheltered from the weather and got as dry as possible, and you may need to call for help.
13. What should you do at river crossings?
River crossings can look easy in photos. But the water can be far faster and more powerful than it looks from the bank.
Before you cross:
- Watch how fast the current is.
- Try to judge how deep the water is.
- Check whether there’s a waterfall or fast-flowing water downstream.
- If the water is murky and you can’t see the bottom, be extra careful.
- Look for a bridge or another place to cross.
- Think about turning back as an option.
If the current is very fast, the water is high or you can’t safely judge the bottom, don’t cross. Even a quick search online will turn up plenty of news stories about people swept away by the current. So don’t underestimate water crossings.
Taking your shoes off and crossing barefoot isn’t always a good idea either. You can’t see under the water, so sharp stones or slippery surfaces can injure your feet. Even if you give it first aid, a cut can mean a really hard walk back.
Trekking poles can help with balance, but they won’t make a strong current safe.
14. How do you keep a group safe on a walk?
Walking in a group can seem safer than walking alone. But if the group isn’t organised, a different set of problems can crop up.
Before the walk starts:
- Decide who knows the route.
- Agree who walks at the front and who walks at the back.
- Agree that everyone regroups at junctions.
- Set the pace by the slowest person in the group.
- Decide who will call for help in an emergency.
- Make sure everyone knows who has the first aid kit.
A common mistake is for the people at the front to keep speeding up until the group breaks into pieces. When you reach a junction, don’t carry on until you’re sure the person behind has seen you. Thinking “They’ll find the right way anyway” can cause serious trouble, especially on unmarked routes.
Staying in contact with the people in front of and behind you matters for keeping the group together. That doesn’t mean you have to talk the whole time. Checking on each other every so often is enough.
It also isn’t right for one person to carry everyone’s gear. As far as possible, water, basic food, a phone and personal medication should be in each person’s own pack.
15. Can you trek alone?
For many people, walking alone can be calming and freeing. But your margin for error shrinks. There’s nobody with you to help, check your position or call for help if you get hurt.
If you’re planning to walk alone:
- Build up experience on easy, waymarked routes first.
- Share a detailed route plan with someone close to you.
- Tell them your return time.
- Get your offline map ready.
- Charge your phone and power bank.
- If the weather looks risky, postpone the route.
- Don’t take shortcuts you don’t know.
- Don’t pick trails beyond your fitness.
- Don’t take unnecessary risks.
- If you can, send a location or status message at set times.
On remote routes with no phone signal, satellite communication devices are worth considering. But carrying a device doesn’t wipe out the consequences of bad decisions. When you’re walking alone, your most important piece of safety kit is often being able to put your ego aside.
Don’t hesitate to turn back when conditions get worse.
16. What should you do first when there’s an accident?
When someone falls or gets hurt, trying to move them straight away isn’t always the right thing to do. First, check whether the spot you’re in is safe:
- Is there a risk of falling rocks?
- Is the person in a stream?
- Is there a drop or traffic nearby?
- Is there still a risk of storms or lightning?
- Is there any danger to you or the rest of the group?
Then try to assess the person’s overall condition:
- Are they conscious?
- Are they breathing?
- Is there serious bleeding?
- Could there be a head, neck or spinal injury?
- Where do they feel pain?
- Is it really safe for them to stand up?
Don’t attempt treatment you haven’t been trained to give. If a neck or spinal injury is suspected, avoid moving the person unnecessarily. When you call for help, give information that’s as clear as possible.
17. What number should you call in an emergency?
In Turkey, the single number to call in an emergency is 112.
When you call 112, be ready to give this information:
- What happened?
- How many people are affected?
- What condition is the injured person in?
- Exactly where are you?
- What’s the name of the route?
- Is there a distinctive landmark or building near you?
- What are your GPS coordinates?
- What’s your phone number?
- What are the weather and ground conditions like?
- What equipment do you have with you?
Panicking is only human. But in an emergency, try to stay as calm as you can. Rather than telling a long story, give short, clear answers to the operator’s questions.
Don’t end the call until the operator tells you to hang up. After that, save your battery and keep your phone where you can be reached.
Only call 112 in a genuine emergency. Unnecessary calls can make it harder for people who need help to get through.
How do you share your location?
In an emergency, saying “We’re in the forest” or “We’re on the path” may not be enough. From the map or navigation app on your phone, you can share:
- Latitude and longitude
- The name of the nearest route
- The last waymarked point you passed
- How long you’ve been walking since the start
- A nearby stream, hill, road or building
Remember that coordinate formats can differ. It helps to tell the operator clearly the value you see on your screen and which app you’re using. If the connection is very weak, a text message can sometimes get through more easily than a call. But the main emergency channel is 112.
18. What should you do until help arrives?
If you need to leave where you are after calling for help, let the emergency operator know.
If where you are is safe:
- Shelter the injured person from the weather.
- Reduce heat loss.
- Take the person’s condition into account before giving them water or food.
- Save your phone battery.
- Use a whistle or a visible signal.
- Keep the group together.
- Don’t send people off in different directions for no reason.
- Follow the rescue team’s instructions.
Bear in mind that help may not arrive as quickly as it would in a city. Terrain, weather, distance and access can all make the response take longer. That’s why the extra layer, emergency blanket, head torch and extra food in your pack aren’t just theoretical kit.
19. Why does a whistle matter?
These days a whistle might strike you as a primitive tool. But shouting wears you out quickly. After a while your voice can go and your throat can start to hurt.
A whistle, on the other hand, lets you make a louder, more distinctive sound using less energy. It’s especially useful for letting people know where you are in woodland or when visibility is poor.
Keep your whistle somewhere easy to reach, not at the bottom of your pack. Some trekking packs have a whistle built into the sternum strap buckle. Speaking for myself, I got into the habit of wearing a whistle round my neck as a child, when I was sailing. So my first choice is still to hang it round my neck.
Once you’ve adjusted the cord so it doesn’t bother you, after a while you forget it’s even there.
20. When should you decide to turn back?
One of the hardest parts of staying safe in nature is knowing when you should turn back. In these situations, think about turning back rather than carrying on:
- If you’re well behind your planned time
- If the daylight is fading fast
- If the weather is getting worse than expected
- If you’ve lost the waymarks
- If someone in the group is exhausted
- If water or food is running short
- If an injury is affecting the walk
- If a stream crossing doesn’t look safe
- If your gear isn’t right for the conditions
- If the route is more technical than your experience allows
Being very close to the summit, the waterfall or the viewpoint doesn’t change the safety conditions. In nature, the thought “I’ve come all this way” sometimes pushes people into taking unnecessary risks. But the route will still be there tomorrow.
A final trekking safety checklist before you set off
Before you leave home, you can run through this list quickly:
Route
- Do I know the route’s distance and elevation gain?
- Are the GPX file and offline map ready?
- Do I know the alternative exit points?
- Have I planned my return time?
- Have I shared my route plan with someone close to me?
Weather
- Have I checked the hourly forecast?
- Have I looked at precipitation, wind and the feels-like temperature?
- Do I know the sunset time?
- Have I thought about conditions on the higher parts of the route?
- Am I ready to postpone the walk if I need to?
Gear
- Are my phone and power bank charged?
- Does my head torch work?
- Have I got a waterproof and an extra layer?
- Is my first aid kit complete?
- Have I got a whistle and an emergency blanket?
- Have I packed enough water and extra food?
- Have I got my personal medication with me?
Communication
- Do I know to call 112 in an emergency?
- Can I find my coordinates on my phone?
- Do I have the phone numbers of the others in the group?
- Have we talked about who does what in an emergency?
Final word
Trekking safety isn’t only about knowing what to do after an accident. Real safety means choosing the right route, keeping an eye on the weather, packing for the conditions and being able to make the call to turn back when you need to.
You might have the best navigation app on your phone. You might have the latest phone, a pack full of expensive gear or excellent fitness. But none of that will protect you from every risk out in nature.
Because one of the biggest factors in your safety is the decisions you make. Sometimes the safe decision is to walk more slowly. Sometimes it’s to wait for the group. And sometimes it’s to save a route you’ve spent ages preparing for until another day, because of the weather.
Part of the beauty of nature is that it’s beyond our control. Our job isn’t to try to control it, but to read the conditions properly and adapt. Spending a few more minutes preparing before you set off can head off a problem that could drag on for hours out there.
Remember: finishing a route is a great achievement. But getting back safely is always the real goal.
These safety habits apply just the same at an organised event. If you’re thinking about racing on the trails, the trail race calendar shows which routes are run and when.
If you’d like a rough idea of how demanding the route will be beforehand, the walking calorie calculator works out how much energy you’ll burn based on the gradient and your pack.