
Getting ready for ski season: a pre-season leg, core and balance programme
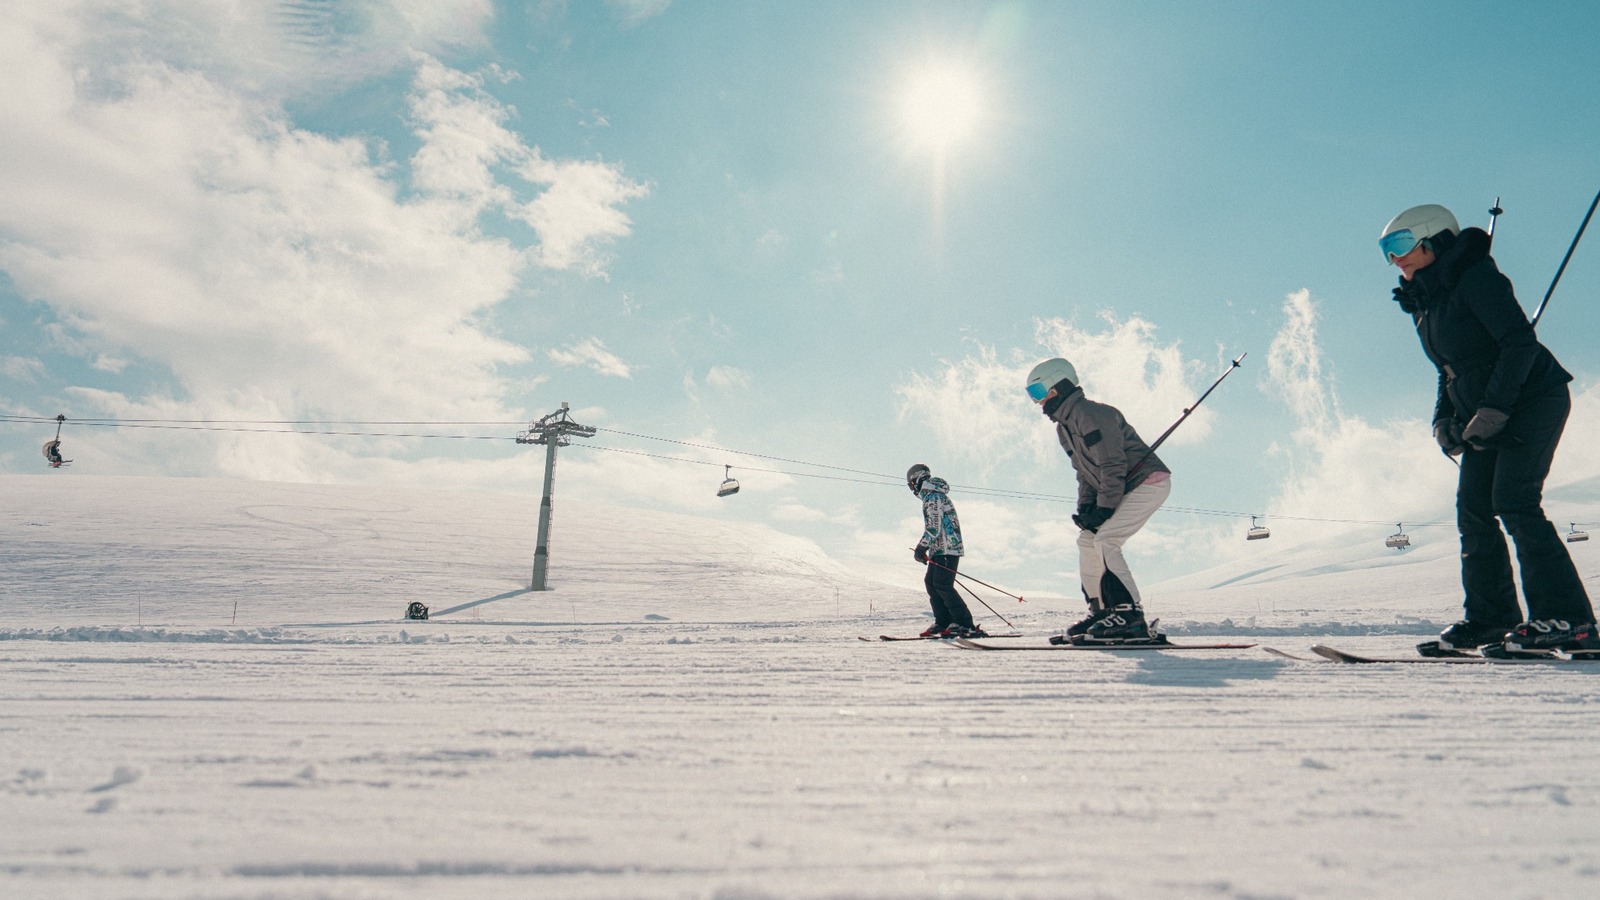
It’s the first day of the season. The snow looks great, the sky is clear, and the slope you’ve been waiting for all these months is finally in front of you. The first few runs are good fun. Then your legs start burning, and the turns feel a little harder. By the afternoon, you still want to ski, but your legs have already requested a break. Sound familiar? Walking through the summer or getting out on your bike now and then certainly helps you prepare for ski season. Still, skiing asks something a little different of your legs: supporting your weight with bent knees, shifting that weight through turns, and keeping your balance as the terrain changes.
Don’t let that make the preparation feel overwhelming. You don’t need to train like a professional athlete. Two strength sessions a week, two short walks or bike sessions, and a little balance practice are a good place to start. We’ve put together the programme below so you can do it at home with just a few simple pieces of equipment.
Why leg strength alone isn’t enough for skiing
The muscles at the front of your thighs work hard when you ski. But if you focus only on them, you leave out your glutes, hamstrings and trunk. Your core—the muscles around your abdomen, lower back and surrounding areas—also helps you control your upper body. Pre-season preparation brings together work on these areas and improvements in your fitness. [1, 2]
That’s why this programme includes leg and glute exercises, core work, balance and cardio. The aim is to help you move more comfortably on your first day on the slopes. Skiing technique, suitable equipment and choosing slopes that match your ability matter just as much as preparation.
When should you start preparing for ski season?
If your first ski day is around six weeks away, you have a useful window to get started. That gives you time to follow the programme without rushing. If you have longer, you can spend a little more time on the early stages. Of course, completing six weeks won’t leave everyone equally prepared. Someone who hasn’t exercised for a long time starts from a different point than someone who trains regularly. Focus on controlled movements and consistency rather than squeezing everything into the calendar.
This plan is a starting example for adults without an active injury who ski on holidays or at weekends. If you have ongoing knee or lower back pain, swelling, a feeling that your knee is giving way, or you’ve recently had surgery, speak to a doctor or physiotherapist first about which movements are suitable for you.
A weekly routine for ski-season preparation
| Day | Session | Approximate time |
|---|---|---|
| Monday | Legs, core and balance | 30–40 minutes |
| Tuesday | Brisk walk or stationary bike | 20–30 minutes |
| Wednesday | Rest or an easy walk | Optional |
| Thursday | Legs, core and balance | 30–40 minutes |
| Friday | Rest | — |
| Saturday | Brisk walk or cycling | 20–30 minutes |
| Sunday | Rest or gentle movement | Optional |
These days are examples; move them around to suit your week. Just leave at least one day between strength sessions. If you already train regularly, make room for these exercises within your existing routine. There’s no need to add everything on top and suddenly do far more than usual.
A sturdy chair, a mat and a low, stable step are enough to get started at home. Use a wall to secure the chair, and a counter or railing for support during balance work. A resistance band and a light weight may be useful in later weeks, but they aren’t essential at the start.
Start with a 5–8-minute warm-up
Before going straight into the first exercise, do this short warm-up:
- 2 minutes of marching on the spot or easy cycling.
- 8–10 controlled chair sit-to-stands.
- 8 small side steps in each direction.
- 8–10 repetitions on each side: place one foot forward, slowly move your knee forward in the direction of your toes without lifting your heel, then return.
- 10 slow heel raises.
Keep the movements within a comfortable, pain-free range. This part is about getting your body ready for the session, rather than tiring yourself out before it starts. AAOS also recommends warming up before winter sports and preparing before the season. [3]
An at-home leg, core and balance session
Below you’ll find starting sets and repetitions for each exercise. If you haven’t exercised for a long time, begin with one set of each in your first two sessions. Move up to two sets once you can do the movements comfortably and aren’t waking up the next day with muscle soreness that makes everyday tasks difficult.
Work through the exercises in order, finishing all the sets of one before moving to the next. Rest for around 60–90 seconds between sets. The last few repetitions can feel a little challenging, but finish while you could still do a few more with good form.
1. Chair sit-to-stand
Stand with your feet hip-width apart. Send your hips backwards and slowly sit onto the chair, then stand up. Place the chair against a wall so it stays secure. Take around three seconds to lower yourself onto the seat. Don’t drop into it; keep your feet flat on the floor and your knees moving in the same direction as your feet. There’s no need to choose a very low chair.
- Starting point: 2 sets × 8–10 repetitions.
- To make it easier: Use a higher seat or give yourself a little support with your hands.
- To progress: First build up to 12 controlled repetitions. Then you can try holding a light weight in front of your chest.
2. Glute bridge
Lie on your back with your knees bent and feet on the floor. Squeeze your glutes and lift your hips, stopping when your shoulders, hips and knees are roughly in line. Don’t try to lift higher by arching your lower back. Pause for one second at the top, then lower with control. Aim to drive the movement with your glutes, rather than straining your back.
- Starting point: 2 sets × 10–12 repetitions.
- To make it easier: Use a smaller lifting range.
- To progress: Extend the pause at the top to two or three seconds.
3. Low step-up
Use a sturdy, non-slip step around 10–15 centimetres high. Place one whole foot on it, step up using that leg, then slowly lower yourself back down. Don’t step onto a chair. Let the leg on the step do the work instead of pushing yourself up quickly with the trailing foot. Keep the descent controlled too. Have a fixed support within reach.
- Starting point: 2 sets × 6–8 repetitions per leg.
- To make it easier: Use a lower step and light hand support.
- To progress: First slow down the lowering phase. Don’t increase the step height and the weight at the same time.
4. Side steps with controlled weight transfer
Stand with your feet hip-width apart and your knees slightly bent. Take a small step to one side, transfer your weight onto that foot, then bring the other foot closer. Repeat in the opposite direction. Don’t cross your feet. Shift smoothly rather than throwing your upper body from side to side. In later weeks, you can add a light resistance band just above your knees if you want. The goal here is to transfer your weight onto the other leg with control as you step sideways.
- Starting point: 2 sets × 8 steps in each direction.
5. Dead bug: arm and leg extensions with lower back control
Lie on your back and reach your arms towards the ceiling. Lift your legs with your hips and knees bent to roughly 90 degrees, keeping your shins parallel to the floor. Slowly extend one arm backwards and the opposite leg forwards, then return to the starting position. Don’t let your lower back noticeably arch during the movement. Keep breathing. If your back starts arching as you extend your arm or leg, shorten the movement.
- Starting point: 2 sets × 5–6 repetitions per side.
- To make it easier: Keep your arms still and alternately lower one heel to touch the floor, then lift it back up.
6. Side plank from the knees
Lie on your side, place your elbow beneath your shoulder and bend your knees. Support yourself on your forearm and knees as you lift your hips. Hold without letting your shoulders or hips roll forwards or backwards. End the set when your hips begin to drop or your torso starts rotating. Don’t sacrifice the position just to hold it longer.
- Starting point: 2 sets × 10–20 seconds per side.
- To progress: First build up to 25–30 seconds. Once this position feels easy, you can try the exercise with your legs straight.
7. Single-leg balance
Stand beside a stable counter. Lift one foot slightly and keep a soft bend in the knee of your standing leg while you balance. Keep your eyes open and use a flat, non-slip surface. Use your fingertips for support whenever you need it. Once you feel comfortable, you can make small taps forwards, sideways and backwards with your free foot. After each tap, lift it off the floor again and return to the starting position.
- Starting point: 2 sets × 20 seconds per foot.
You don’t need to close your eyes or stand on a cushion straight away to make it harder. Needing less support on a stable surface is progress too.
How to progress over six weeks
| Stage | Strength and core | Balance | Cardio |
|---|---|---|---|
| Weeks 1–2 | Start with 1 set; move to 2 if comfortable. Begin with the easier options | 15–20 seconds with support | Twice a week, 15–25 minutes at an easy pace |
| Weeks 3–4 | 2 sets; work towards the top of the repetition range with control | 20–30 seconds, using less hand support | Twice a week, 25–30 minutes |
| Week 5 | If comfortable, add a third set to the first three exercises or make a small increase in resistance | Add small foot taps in different directions | One easy session and one optional interval session |
| Week 6 | Keep your routine in the early part of the week; reduce the load as your ski trip approaches | Short, easy practice | Easy pace, without exhausting yourself |
Don’t increase sets, weight and duration all in the same week. Change one thing, then see how you feel over the following sessions. If muscle soreness makes walking or climbing stairs noticeably harder, make the next session easier. Add another rest day if you need one.
What to do on cardio days
You can brisk walk, use a stationary bike or train on an elliptical. Start at a pace where you can still hold a conversation. You don’t need to finish every session gasping for breath.
If you’ve completed the first four weeks comfortably, you can structure one cardio session in week five like this:
- Start with 5 minutes at an easy pace.
- Do 1 minute at a slightly quicker pace, followed by 2 easy minutes. Repeat this three-minute block 5 times.
- Finish with 5 easy minutes.
Don’t go all out during the quicker minute. Increase the pace only enough that you can get your breathing back under control during the two easy minutes afterwards. If you can’t yet exercise comfortably for 20–25 minutes without stopping, skip the intervals and gradually build up your current duration.
What if your ski holiday is only a week away?
If you have just one week left, don’t try to squeeze six weeks of training into seven days. Unfamiliar jumping exercises, heavy leg workouts and intense sessions on consecutive days could leave you struggling even to walk downstairs just as you’re about to leave.
One or two light sessions can help you get familiar with the movements, while easy walking or cycling keeps you active. In the final two or three days before skiing, stick to familiar, light exercise rather than trying a new, heavy leg workout. On your first ski day, start with easy slopes, short runs and regular breaks. You don’t have to fit the whole holiday’s skiing into day one.
How can you track whether it’s helping?
In the first and fourth weeks, use the same chair and step and ask yourself three questions:
- Can I control the lowering phase of the sit-to-stand more comfortably?
- Do I need less hand support when stepping up?
- Am I making fewer balance corrections when standing on one leg?
These questions help you notice your own progress. Good answers don’t mean you’re ready for every situation on the slopes. Doing the same movement more comfortably and with less support is progress too. You don’t have to add weight every week.
Your first day on the slopes: think before “one more run”
Before the first descent, walk for a few minutes, do small knee bends and practise controlled weight shifts. Keep your first runs on an easy slope. If you’re learning to ski, include lessons with an instructor in your plans too.
Take a break if your legs start shaking, your control through turns drops, or you’re struggling to concentrate. AAOS’s winter sports safety guide also recommends stopping when you’re in pain or noticeably tired. [3] It can be normal for your muscles to tire during training, but don’t try to push through sharp pain in your knee or lower back. Stop the movement if you have pain, swelling or a feeling that your knee is giving way. If the symptoms continue, speak to a doctor or physiotherapist.
It’s nice when your legs are still on board with your plans as you think about the next run on the lift. Do a little preparation while you’re waiting for the first snow—and once you’re on the mountain, remember when to take a break.
Sources
We put together the six-week schedule and the sets and repetitions as an example programme, drawing on the general preparation advice in these sources. It isn’t a programme published word for word by the organisations listed below. You can adjust the duration and difficulty to suit your own level.