
HYROX Sled Push Guide: Technique, Weights and Race Strategy
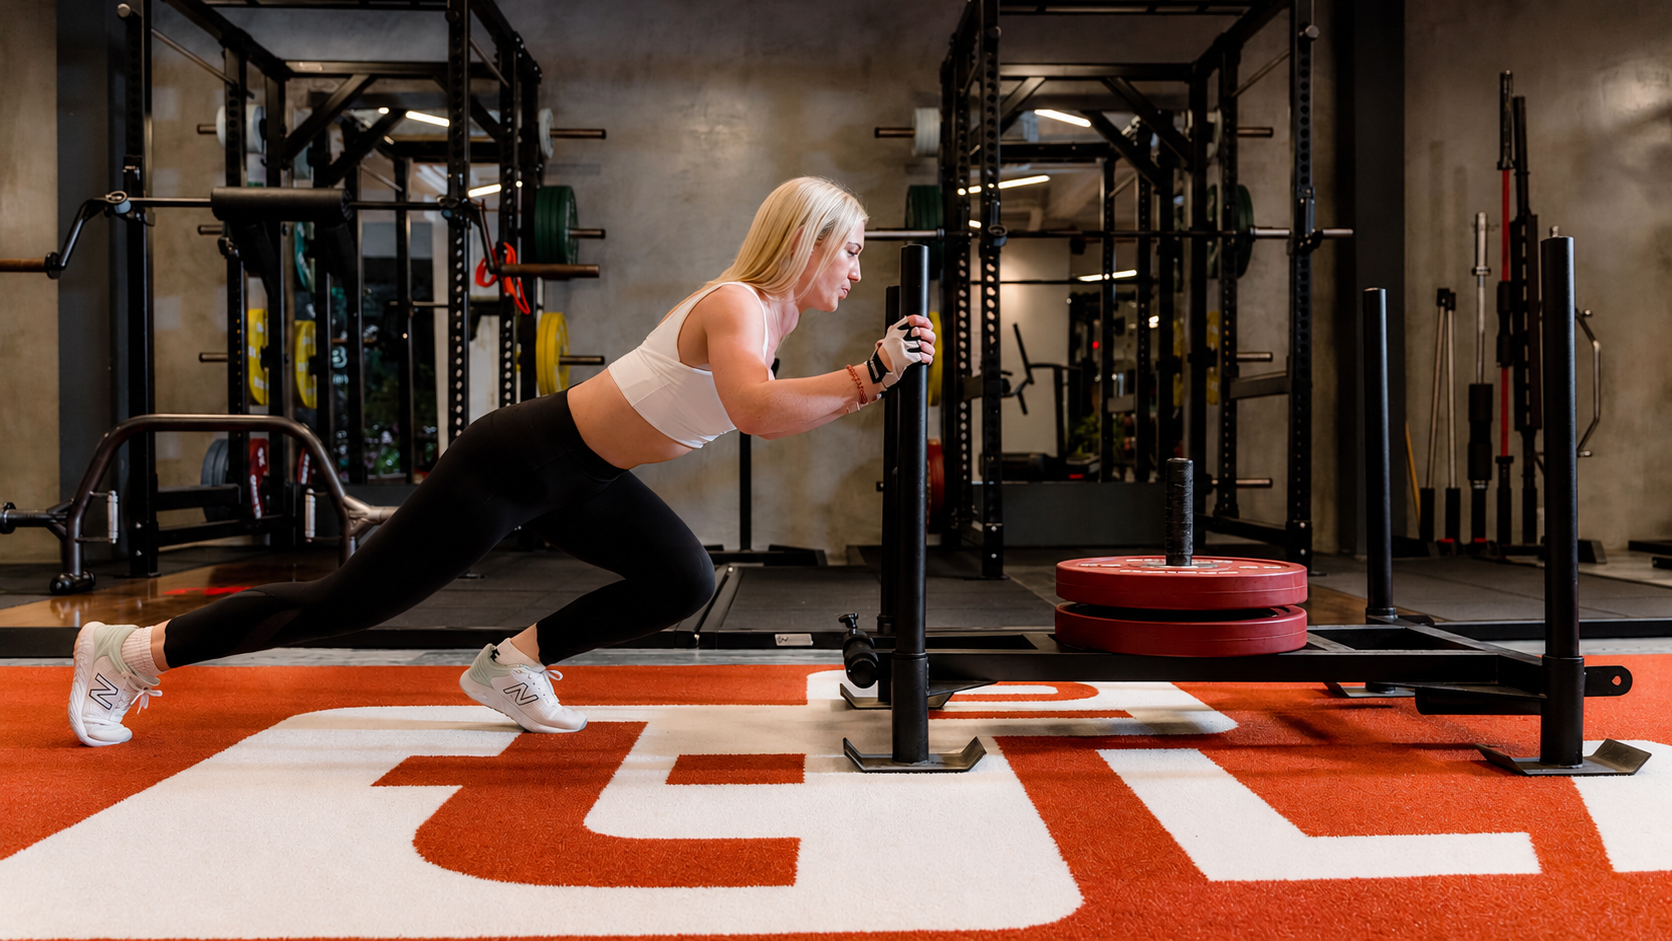
From a distance, it looks simple: grab the sled and push it forwards. Get closer, and you may discover the sled has other ideas. The Sled Push is one of the HYROX stations where you need to balance strength with race pace. Moving the sled matters, but so does having enough left to run afterwards. Empty the tank in the first few metres, and the remaining distance can start to feel a lot longer.
This guide covers division weights, the basic race rules, technique tips and what to focus on in training.
What is the Sled Push, and where does it fit into HYROX?
The Sled Push involves pushing a weighted sled forwards using its upright handles. It is the second HYROX station, following the SkiErg and your second running segment. You push the sled a total of 50 metres, split into 4 × 12.5 metres. At the end of each length, you move to the other side of the sled and push back in the opposite direction.
How heavy is the HYROX Sled Push?
Individual races: Singles
| Division | Total weight, including the sled |
|---|---|
| Women’s Open | 102 kg |
| Women’s Pro | 152 kg |
| Men’s Open | 152 kg |
| Men’s Pro | 202 kg |
These figures include the weight of the sled itself. For example, 152 kg does not mean loading an extra 152 kg of plates onto the sled.
Two-person races: Doubles
| Division | Total weight, including the sled |
|---|---|
| Women’s Doubles | 102 kg |
| Women’s Pro Doubles | 152 kg |
| Men’s Doubles | 152 kg |
| Mixed Doubles | 152 kg |
| Men’s Pro Doubles | 202 kg |
In Doubles, you share the station distance with your partner, with one athlete working at a time. During the Sled Push, the resting athlete must walk immediately behind the working partner without obstructing other racers. Weights and race rules are based on the official 2026/27 season rulebooks. Adaptive and Youngstars divisions are not covered by these tables.
Sled Push race rules to keep in mind
For an individual race, the basics are:
- Use the lane assigned to you by the judge.
- Both you and the sled must start completely behind the white line.
- Stay in your own lane without obstructing the racer next to you.
- Before changing direction, push the entire sled beyond the line at the end of the 12.5-metre length.
- After all four lengths, the entire sled must be past the final line.
Getting the front of the sled to the line is not enough. Don’t rush those last few metres and turn too early.
The 2026/27 Singles rulebook specifies a warning for the first Sled Push movement-standard infringement, a 15-second penalty for the second and an additional 15 seconds for each subsequent infringement. This protocol should not be treated as a single penalty schedule covering every situation, such as incomplete distance or using the wrong lane.
Sled Push technique: How to transfer your strength to the sled
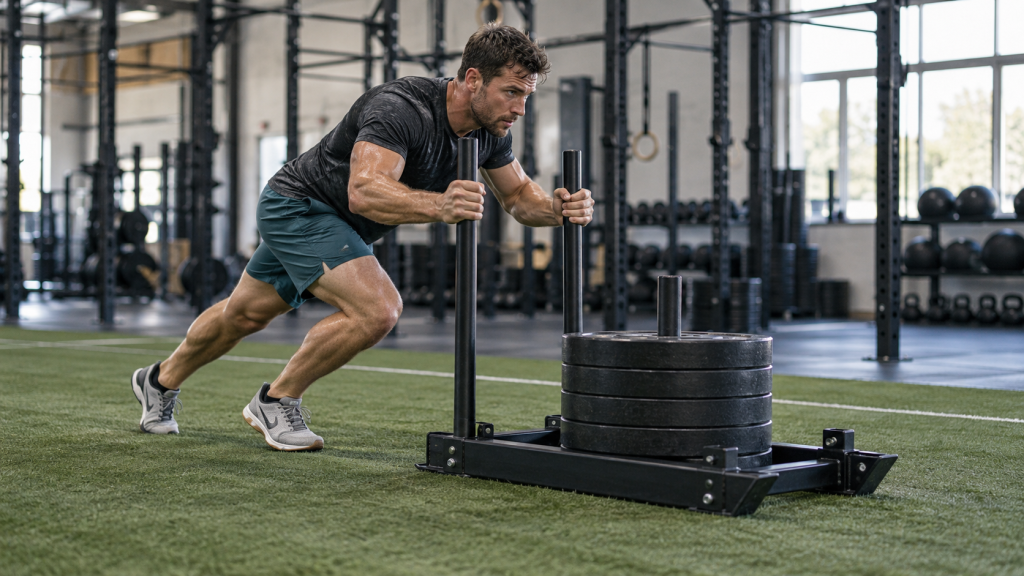
Think of the points below as starting cues to explore in training. Athletes differ in height, range of motion and equipment, so one grip height or body angle will not suit everyone.
1. Get into position before you push
Grip the handles, place your feet and lean your torso forwards. Rather than putting your hands anywhere and adjusting once you are moving, find your balance before the first push. Your arms and torso need to stay firm enough to transfer the force from your legs to the sled. If it feels as though you are trying to shove it away using only your arms, reassess your position.
2. Experiment with your grip in training
You will see different approaches, including pushing with straighter arms or bent elbows. Resting the forearms against the uprights is another option. In Centr’s athlete tips, Jake Williamson explains that he uses this position to help transfer his body weight into the push.
But copying an elite athlete’s position from a photo is not enough. Try it with a light load and find a position that lets you move without crowding your shoulders, losing torso control or slipping.
3. Start with short, controlled steps
On your first attempts, try small, steady steps rather than long strides that leave you chasing the sled. The aim is to keep your feet gripping the floor and your body balanced. If your hips rise, your lower-back position changes or your feet slip with every step, check the load and your position before pushing harder.
4. Avoid lifting your head unnecessarily
Instead of straining your neck to look straight ahead, try to keep your head aligned with your torso. You only need enough visibility to follow your lane and spot the line.
5. Make breaks part of the plan
Don’t exhaust yourself trying to finish every length without stopping. When you need to, take a brief pause to reset your position and breathing. In the same Centr guide, Meg Jacoby points out that the effort at this station can affect the later stages of your race and recommends taking breaks when needed.
Why does the same weight feel different at another gym?
A sled is a load you slide across the floor rather than lift into the air. Alongside the number of plates, friction between the sled’s base and the surface affects the resistance you feel. That means the same weight can feel easier or harder to push at a different gym. Your shoes’ grip also affects how well you can apply force.
Rather than simply writing “pushed 150 kg” in your training notes, include:
- Total load, including the sled itself.
- The surface and sled used.
- Distance and number of breaks.
- Whether you maintained your position throughout.
This gives you more to compare than kilograms alone when you use different equipment. It also saves you from thinking your fitness disappeared overnight just because you changed sleds.
Sled Push race strategy: Don’t spend everything on the first length
Our suggestion is to use your first few steps at the Sled Push to get a feel for the load and surface. If the sled moves more easily than expected, resist the urge to sprint straight away. Find a rhythm you can sustain first. At each turn, follow a simple sequence: clear the line completely, move to the other side, set your grip and continue. Repeating a few controlled movements can make things easier than rushing to restart.
Once you leave the station, try to settle back into your running rhythm gradually. If you only time the sled portion in training, you can miss what happens during that transition.
A faster sled split may not be the better choice for your overall race if it noticeably slows the run that follows.
Agree on your Doubles changeovers in advance
Practise the signal you will use to switch with your partner. “You’ll know when I’m tired” may not be the most reliable plan in a noisy race venue. If you want to try having one partner cover more distance, assess how that affects your next run together, too. Running side by side afterwards will help you judge whether the split works for you.
How do you start training for the Sled Push?
Before making it your mission to move race weight once, focus on learning to control the movement. You could work through the following stages:
- Learn the technique: Use a light load for short pushes, practising your grip, steps and turns at the line.
- Increase the load gradually: Progress while you can maintain your position. If your feet keep slipping or your form falls apart, reassess the load.
- Link the lengths together: Progress from individual lengths to several lengths with turns included.
- Connect it with running: Once you are comfortable with the movement, try sled work after a short, controlled run. Note how running feels afterwards as well.
This is a suggested progression, not a personalised training programme. Adjust the load, sets and rest to your experience, and ask a coach for technique feedback if the movement is new to you. Don’t push through pain.
What if your gym doesn’t have a sled?
Leg strength, torso control and conditioning work can help your general preparation. However, they are not direct substitutes for the Sled Push: transferring force through the handles, finding traction and changing direction with a loaded sled are different experiences.
If possible, get a few technique sessions at a facility with a sled before race day. You don’t want to be figuring out your first grip with a queue forming behind you.
There are three useful reminders for the Sled Push: Set your position, hold your rhythm and clear the line. Your race keeps going after you let go of the sled.
Sources
Rules checked: 21 October 2026.
- HYROX Single Rulebook — 2026/27, section 8.2
- HYROX Doubles Rulebook — 2026/27, sections 7 and 8.2
- Centr — 3 Centr athletes share their best HYROX hacks
Frequently asked questions
Is the Sled Push only a leg exercise?
Your legs play a major role in the push, while your torso and upper body help maintain your connection with the handles. Don’t focus on leg strength so much that you overlook your position.
What should I do if the sled won’t move?
In training, check the total load, whether your feet are slipping and how you are positioned. Reducing the load and trying again is a more useful starting point than pushing harder with the same poor form. During a race, tell the judge if you think there is an equipment issue.
What is a good Sled Push time?
A single target is not particularly useful without knowing your division, surface, experience and pace through the rest of the race. Start by comparing your own attempts under similar conditions. Alongside your time, track your breaks and how easily you settle into the next run.
What kind of shoes work best?
Don’t choose on running comfort alone. Test how well they grip during sled pushes and whether your feet stay secure inside them. Race day should not be the first time your race shoes meet a sled.