
Tubeless vs Inner Tubes: A Practical Guide for Road, Gravel and MTB
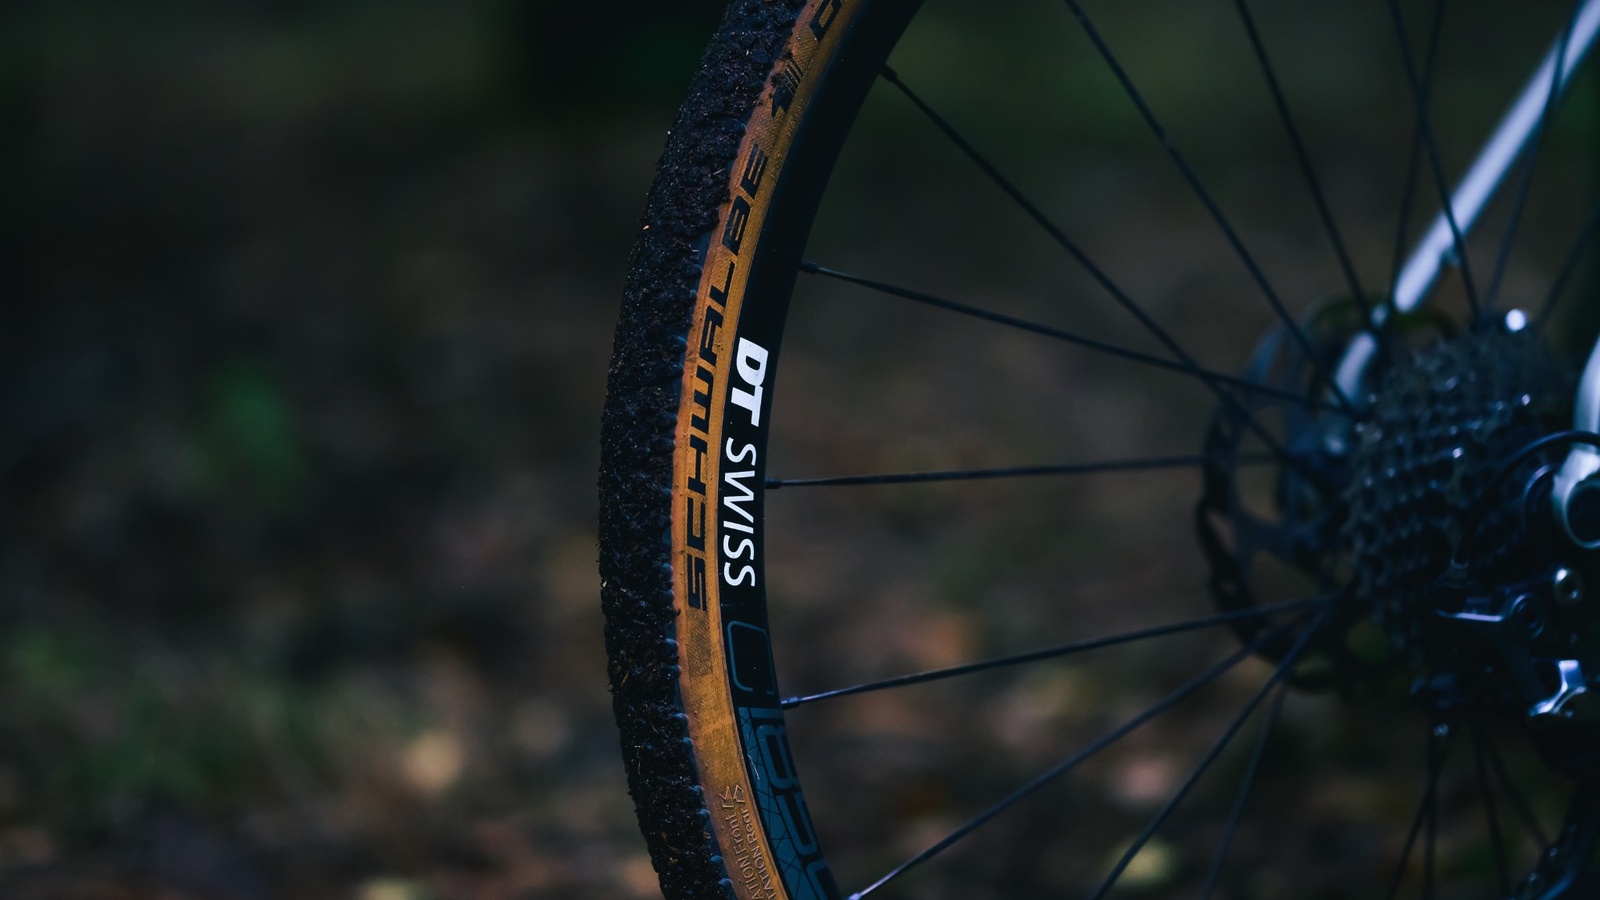
Today we’re talking bike tyres: should you go tubeless or stick with inner tubes? Most of us start cycling with tubes. The idea is simple: a separate inner tube sits inside the tyre and holds the air. If it punctures, you replace it or patch it, then get back on the road.
A tubeless setup does away with the inner tube. Instead, the tyre, rim and sealant work together to keep the air inside. If a small thorn or sharp object makes a hole in the tyre, the sealant can close it, letting you carry on riding.
I have to admit, that sounds pretty good. On paper, tubeless looks like the more advanced option, with useful benefits such as lower pressures, better grip and fewer punctures.
But it takes more effort to set up, needs regular maintenance, and isn’t something every cyclist needs. The right choice depends on your bike, the surfaces you ride, your tyre width and how much maintenance you’re happy to take on.
What Is a Tubeless Tyre?
A tubeless setup has no separate inner tube. Tyre sealant moves around inside the tyre. When a small hole appears, the escaping air carries some sealant towards it. The sealant collects at the hole and tries to seal it.
A typical tubeless setup includes:
- A tubeless-compatible tyre
- A tubeless-compatible rim
- Tubeless rim tape
- A tubeless valve
- Tyre sealant
This can work very well for small punctures caused by thorns, thin wire and similar objects. It won’t always seal larger cuts, splits or serious sidewall damage, though.
How Does an Inner Tube Setup Work?
With an inner tube setup, a separate rubber tube holds the air. The tyre contacts the ground, while the inflated tube sits inside it.
It’s simple, inexpensive, familiar to most of us and easy to repair. But there are two main ways it can puncture.
The first is when an object penetrates the tyre and pierces the tube. The second is when a hard impact pinches the tube against the rim. This can leave two small cuts side by side, which cyclists call a pinch flat or a “snake bite”.
With no inner tube to pinch, a tubeless setup doesn’t suffer this kind of flat. However, hitting a hard surface with too little pressure can still damage the tyre or rim.
Tubeless vs Inner Tubes: A Comparison
| Factor | Tubeless | Inner tubes |
|---|---|---|
| Small punctures | Sealant may close the hole | Usually means stopping to repair it |
| Pinch flats | No inner tube pinch flats | Can happen at low pressure |
| Running lower pressures | Better suited to it | Puncture risk can increase |
| Installation | More involved | Easier |
| Maintenance | Sealant needs checking | Little maintenance apart from puncture repairs |
| Initial cost | Can be higher | Usually lower |
| Roadside repairs | May need a plug or an inner tube | Replacing the tube is more straightforward |
| Long periods without use | Sealant can dry out | Generally less troublesome |
The Advantages of Tubeless
It Can Seal Small Punctures While You Ride
One of the biggest benefits of tubeless is that minor damage doesn’t always have to interrupt your ride. If a small thorn punctures the tyre, the sealant may close the hole. Some air loss is normal, but if it seals, you can keep riding.
With an inner tube, that same thorn will often mean getting off the bike and making a repair. Just don’t confuse “tubeless” with “puncture-proof”. Large cuts, torn sidewalls or dried-out sealant can still leave you with a repair to do.
You Can Run Lower Pressures
Drop the pressure too far with an inner tube and it can get trapped between the rim and the ground. Tubeless removes that tube, making lower pressures possible. On rocky, root-covered or uneven surfaces, lower pressure helps the tyre conform to the terrain. As a result:
- Grip may improve
- The bike may bounce around less
- Ride comfort may improve
- Technical terrain may feel easier to control
These benefits are most noticeable on gravel and mountain bike rides.
It Can Make the Ride More Comfortable
The idea is fairly simple: the higher the pressure, the firmer the tyre, and the more directly it passes bumps on to you.
With a suitable tyre width and the right pressure, a tubeless tyre can absorb smaller bumps more effectively. The difference becomes especially noticeable on long gravel rides or rough MTB trails.
The key is not to drop the pressure too far. Pressure that’s too low can make the tyre squirm excessively in corners, allow the rim to strike the ground or let air escape between the tyre and rim—a “burp”.
It Eliminates Inner Tube Pinch Flats
Without an inner tube, there’s no tube to get trapped and cut between the rim and the ground.
That matters when your riding involves hard impacts from rocks, kerbs, roots and potholes. It’s one of the main reasons mountain bikers switch to tubeless.
The Disadvantages of Tubeless
The First Setup Can Take Some Effort
When I first heard about tubeless, my eyes lit up too. Then I got to the installation part, and the sparkle faded a little.
In theory, it all sounds straightforward: fit the rim tape, install the valve, seat the tyre and add sealant. Written down like that, it sounds like a job you could finish in a few minutes.
In practice, a poor tyre-and-rim match can lead to air leaks. The tyre bead may not seat properly, there may be a small gap in the rim tape, or air may escape around the valve. Some tyres inflate easily with a normal floor pump; others need a dedicated high-airflow pump or a compressor.
If you’ve never set up tubeless before, getting help from a bike shop can make sense. If possible, watch the process rather than simply dropping the bike off. You’ll have a better idea of what’s involved when it’s time to refresh the sealant or check the system yourself.
A friend with tubeless experience can be a good source of help too.
You Need to Check the Sealant Regularly
Sealant dries out over time. How quickly that happens depends on:
- Air temperature
- The brand of sealant
- The tyre’s construction
- How often you ride
- How much air the system loses
Once the sealant has completely dried out, it can no longer seal small punctures. Check every few months that there’s still enough liquid inside the tyre. In hot summer weather, you may need to check more often. We explain the intervals and checking methods in our guide to how often tubeless sealant needs replacing.
If you already suspect you’ll keep forgetting—or keep putting it off—tubeless may not be the best fit. Its advantages depend on keeping up with the maintenance.
It Can’t Seal Every Type of Damage
Although sealant can be effective on small punctures, it may not cope with:
- Large cuts from glass or metal
- Torn sidewalls
- A tyre cut by the rim
- The tyre coming off the rim
- Valve or rim tape failures
That’s why tubeless riders still need to carry a spare inner tube.
“I’m running tubeless, so I won’t need a spare tube” is the sort of confidence best left at home. Getting stranded halfway through a ride and figuring out how to get back can be particularly frustrating on a long route.
The Initial Cost Can Be Higher
If your bike isn’t tubeless-compatible, buying a bottle of sealant won’t be enough to convert it. You may need to replace the tyres, rim tape and valves—and sometimes the rims too. Your initial shopping list may include:
- Tubeless tyres
- Tubeless rim tape
- Tubeless valves
- Tyre sealant
- A tubeless plug kit
- A high-volume pump
If your rims and tyres are already tubeless-compatible, the cost is more manageable. Building the whole setup from scratch is more expensive than using inner tubes.
Does Tubeless Make Sense on a Road Bike?
If you ride a road bike and can’t decide whether to switch, that’s understandable. The answer isn’t as clear-cut as it is for gravel or MTB.
Road tyres run at higher pressures. When a puncture happens, air can escape quickly, and you may lose a substantial amount of pressure before the sealant closes the hole. On the plus side, the growing popularity of 28, 30 and 32 mm tyres on modern road bikes has made tubeless more practical.
Changing tyre width affects more than comfort: it also changes your speed in the same gear. A 700x25c tyre has an approximate circumference of 2,105 mm, compared with 2,155 mm for a 700x32c tyre. That means the wheel travels an extra 5 cm per revolution, giving roughly 2% more speed in the same gear at the same cadence. Enter your tyre size into the bike gear ratio calculator to see the difference for your setup.
Tubeless is worth considering on a road bike if:
- You ride long distances
- You get frequent punctures
- You use tyres that are 28 mm wide or wider
- Your local roads have rough surfaces
- You already have tubeless-compatible rims
- You’re comfortable with regular maintenance
On the other hand, if your riding mostly means short weekend outings, seafront rides or smooth tarmac, and punctures are rare, a good inner tube may be all you need.
Latex and TPU inner tubes are also strong alternatives for road bikes. TPU tubes are lightweight and pack down small. Latex tubes can offer low rolling resistance, but need inflating more often.
They’re worth including in your decision too.
Using Hookless Rims? Check Compatibility Carefully
Hookless rims don’t have the bead-retaining hooks found on conventional rims. That makes tyre-and-rim compatibility even more important.
Not every tubeless tyre can be used with a hookless rim. Always check the tyre and rim manufacturers’ compatibility lists, and never exceed the stated maximum pressure. “Tubeless Ready” on the sidewall doesn’t automatically mean hookless-compatible.
Does Tubeless Make Sense on a Gravel Bike?
If you ride a gravel bike, switching to tubeless can make a lot of sense.
Gravel rides often move between tarmac, compacted gravel roads, dirt and rocky ground. Run too much pressure with inner tubes and the bike can bounce around on rough surfaces. Lower the pressure, and the risk of a pinch flat increases.
Tubeless gives you a wider usable range between those two problems. It’s particularly useful if:
- Most of your riding is on dirt
- You use tyres that are 35 mm wide or wider
- You ride on thorny or rocky routes
- You take long gravel rides
- Comfort and grip are priorities
Even if you own a gravel bike, tubeless isn’t essential when almost all your riding is on tarmac. What matters most is the surface you actually ride, rather than the type of bike you own.
Does Tubeless Make Sense on a Mountain Bike?
If you regularly take your mountain bike off-road, tubeless will often be the right choice. Mountain bikes use wide tyres at low pressures, which increases the risk of pinch flats with inner tubes.
With tubeless:
- Grip may improve on technical terrain
- The bike may feel more controlled over rocks and roots
- Sealant can close small punctures
- Inner tube pinch flats are eliminated
- You can run lower pressures
Tubeless is now common in trail, enduro and technical off-road riding. If you only use your MTB around town, or venture off-road a couple of times a year, it isn’t essential. The advantages become much more noticeable with regular off-road use.
How Can You Tell Whether Your Tyres and Rims Are Tubeless-Compatible?
Before converting, check that both the tyre and rim are compatible. You may find one of these markings on the tyre:
- Tubeless Ready
- TLR
- TR
- TLE
- Tubeless Easy
- UST
The rim manufacturer must also explicitly confirm tubeless compatibility. Some rims come with tubeless tape already fitted; others need it applied separately.
Trying to turn ordinary tyres and incompatible rims into a tubeless setup simply by adding sealant isn’t safe. Use only manufacturer-approved combinations, particularly given the higher pressures used on road bikes.
What Should You Do If a Tubeless Tyre Punctures?
If you notice a tubeless tyre losing air, stop somewhere safe and check whether the hole is sealing. For a small puncture, you can follow these steps:
- Turn the wheel so the hole is at the bottom of the tyre.
- Rotate the wheel a few times to help the sealant reach the hole.
- If the hole seals, reinflate the tyre.
- If it doesn’t seal, use a tubeless plug.
- If the plug doesn’t work, fit your spare inner tube.
Before fitting a tube, make sure you remove any thorn or sharp object from inside the tyre. Otherwise, your fresh tube may puncture almost immediately. If there’s a large cut, a tyre boot or a strong patch can help prevent the tube from bulging out through it.
What Should Tubeless Riders Carry?
Switching to tubeless doesn’t mean your emergency repair kit gets to retire. For longer rides, it’s sensible to carry:
- A tubeless plug kit
- A small hand pump
- A spare inner tube
- Tyre levers
- A tyre boot or a strong patch
- A valve core removal tool
- A small bottle of sealant, if needed
A CO₂ cartridge can inflate a tyre quickly. After using one in an emergency, check the tyre pressure and sealant again.
Which Setup Should You Choose?
| How you ride | The more sensible option |
|---|---|
| Short rides around town | Inner tubes |
| Occasional cycling | Inner tubes |
| Recreational road cycling | Inner tubes or tubeless |
| Long-distance road cycling | Tubeless is worth considering |
| Gravel riding mostly on tarmac | Inner tubes may be enough |
| Gravel riding mostly on dirt | Tubeless |
| Light off-road riding | Either setup can work |
| Regular, technical mountain biking | Tubeless |
| You want minimal maintenance | Inner tubes |
| You get frequent punctures | Tubeless |
The Verdict: Tubeless or Inner Tubes?
Tubeless offers clear advantages for gravel riders and mountain bikers in particular. Lower pressures, better grip and small punctures sealing themselves can make a real difference off-road.
On a road bike, the decision depends more on the rider. If you use wider tyres, ride long distances and get frequent punctures, tubeless could be useful. If you take shorter rides and don’t want regular maintenance to think about, inner tubes may remain the more practical option.
To put it briefly:
If you regularly ride an MTB off-road, tubeless is usually the right choice. If most of your gravel riding is on dirt, it can offer substantial benefits. On a road bike, let your riding distances, tyre width and willingness to maintain the setup guide your decision.
If you ride your bike only occasionally and want to keep things as simple as possible, there’s nothing wrong with sticking to inner tubes. The best setup isn’t always the newest one. It’s the one that suits the way you ride.