
Treadmill Running: Speed, Incline and a Beginner Programme

Treadmill running can feel different from a loop outdoors: the scenery stays put, you select your speed on a screen, and you need to get used to the moving belt. What’s more, the treadmill shows km/h while running articles talk about min/km. You don’t need to memorise both at the start; the table below converts between them, and the run-walk example shows you how to use those numbers.
If you’re thinking of starting on a treadmill, don’t put off the plan just because you aren’t running outdoors. The NHS Couch to 5K guide says the sessions can be done on a treadmill, too. Your first job is learning how your machine works, rather than choosing the most impressive speed.
What speed should you run at on a treadmill?
There’s no single treadmill speed for every beginner. Choose walking and running speeds based on your own effort; when following the beginner plan in this article, aim to stay comfortable enough to speak in short sentences. If talking becomes noticeably difficult, reduce the speed. The CDC talk test explains how talking becomes harder as effort increases.
To understand the number on the screen, check the unit first. Many machines in Türkiye show km/h, but some use mph, or miles per hour. Selecting the same number in different units doesn’t give you the same speed. Check the menu or ask a member of staff when you use a treadmill for the first time; don’t simply copy a setting you remember from another machine.
The difference between treadmill speed and running pace
Speed tells you how many kilometres you cover in an hour; pace tells you how many minutes it takes to cover one kilometre. For example, 8 km/h equals 7:30 min/km. The 5-kilometre times below assume you maintain the same speed without stopping; they don’t include a warm-up, walking breaks or a cool-down.
| Treadmill speed (km/h) | Pace (min/km) | 5 km time |
|---|---|---|
| 5.0 | 12:00 | 1:00:00 |
| 5.5 | 10:55 | 54:33 |
| 6.0 | 10:00 | 50:00 |
| 6.5 | 9:14 | 46:09 |
| 7.0 | 8:34 | 42:51 |
| 7.5 | 8:00 | 40:00 |
| 8.0 | 7:30 | 37:30 |
| 8.5 | 7:04 | 35:18 |
| 9.0 | 6:40 | 33:20 |
| 10.0 | 6:00 | 30:00 |
| 11.0 | 5:27 | 27:16 |
| 12.0 | 5:00 | 25:00 |
Pace = 60 ÷ speed; 5-kilometre time = 300 ÷ speed. Displayed times are rounded to the nearest second; finish time is calculated directly from speed, not from the rounded pace. That’s why multiplying the displayed pace by five may produce a difference of a few seconds in some rows.
We haven’t labelled the speeds “Beginner” or “Advanced”. The same speed can feel easy for one person and hard for another, and people don’t all switch from walking to running at the same point. On your first attempt, look for a setting that lets you control the machine and sustain your planned block, rather than chasing a label.
You could compare values such as 4–6 km/h for walking blocks and 6–8 km/h for running blocks; these aren’t a personal prescription, just example ranges to make speed selection more concrete. You may need a lower speed, and your running speed may be close to your walking speed. The Advenway beginner plan also uses time and comfortable effort rather than a speed target.
If your chosen speed isn’t in the table, use the Pace Calculator. To record your effort, have a look at what RPE means. Reading a number is one thing; understanding how it feels for you is another.
What incline should you use?
You don’t have to increase the incline at the beginning. You could do this run-walk example on a flat treadmill and focus first on getting used to the belt and speed changes. Having an incline setting doesn’t mean every session needs a hill.
The familiar “1% incline” recommendation for matching outdoor effort comes from a 1996 study by Jones and Doust. It assessed nine trained men accustomed to treadmill running at speeds of about 10.5–18 km/h. The finding shouldn’t be read as a requirement for every beginner to set the treadmill to 1% at every speed.
Incline is a separate training variable, not a button that perfectly recreates outdoor running. If the aim of your first session is comfortable run-walk blocks, don’t increase speed, incline and duration together and turn it into a completely different workout. Decide what session you’re doing first, then choose the machine settings to match.
Is 12-3-30 the same as this beginner plan?
No. 12-3-30 means walking for 30 minutes at a 12% incline and 3 miles per hour; 3 mph is about 4.8 km/h. This definition also appears in a 2025 study. In particular, don’t mistake the “3” for 3 km/h; the unit here is miles per hour.
A run-walk plan, on the other hand, uses short running sections and walking breaks. Seeing incline walking all over social media doesn’t mean you need to complete it before taking up running. If your goal is to build towards running without stopping, don’t automatically treat these two workouts as interchangeable.
How many minutes should you run at the beginning?
Separate “How many minutes was I on the treadmill?” from “How many minutes did I run?” The Advenway plan’s example beginner session has a 5-minute walk, 8 repetitions of 1 minute running and 2 minutes walking, then another 5-minute walk. It totals 34 minutes, of which 8 are running.
So don’t conclude “I should run for half an hour on day one.” If you choose the session described here, use the timer for the whole workout and change speed for each block. Longer continuous running may be a later stage; it isn’t an entry requirement for the first day.
That duration is the calculation for the example plan, not a minimum workout time for everyone. If the plan doesn’t feel suitable or you experience symptoms, don’t keep going just to get 34 minutes on the screen. The beginner tool’s explanation describes how the plan takes difficulty and pain reports into account.
How do you follow a beginner programme on a treadmill?
One advantage of a time-based plan on a treadmill is that you can follow each block without measuring distance. First, find your comfortable walking setting and a running setting that lets you talk. Where are the speed buttons? How long does the belt take to slow down? How do you stop the session? Learn these things before it starts moving.
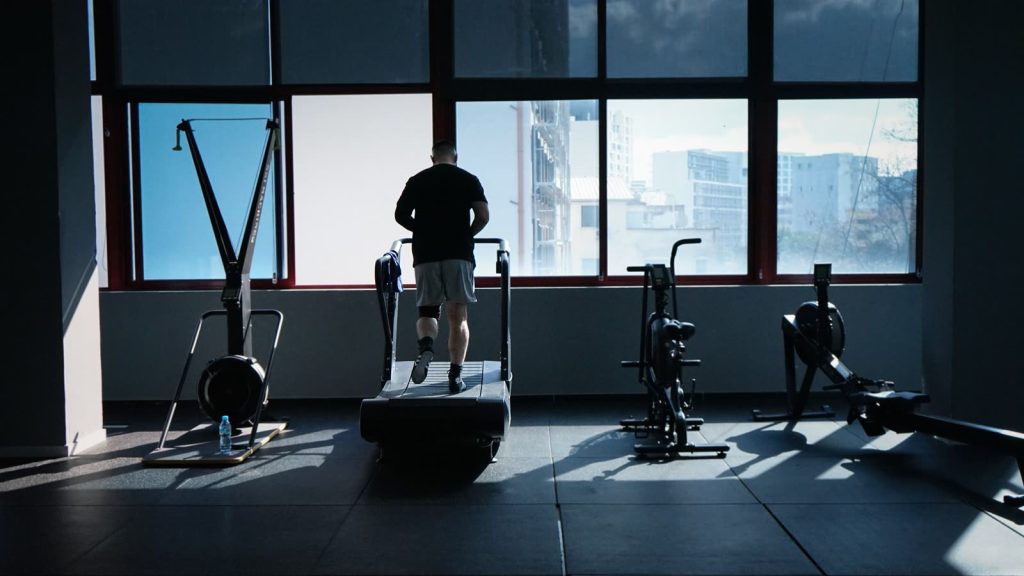
The beginner example goes in this order: a 5-minute warm-up walk, 8 rounds of 1 minute easy running and 2 minutes walking, and a 5-minute cool-down walk. Change the speed in a controlled way when the block changes. The belt may not reach your chosen speed immediately; don’t confuse the number beside the button with how the belt is moving at that moment.
Don’t take your run-walk breaks by jumping from the moving belt onto the sides. Walking here means lowering the belt speed and continuing to walk on it. The Life Fitness manual also calls for great care when getting on or off a moving belt. Follow the instructions for your own machine.
Thinking through the speed changes beforehand makes the session easier to manage. Put your phone somewhere stable where you can see the timer; if fiddling with the screen stops you from keeping track of your movement, stop and adjust it. Asking gym staff for help may be simpler than trying to work out the whole first session on your own.
Choose your days and get started with the run-walk programme you can follow on a treadmill. You don’t have to repeat this example unchanged every week or increase speed with every new week. Check your next session in the tool; don’t confuse the planned blocks with settings you remember from your previous workout.
Treadmill safety: before you start
Attach the emergency stop clip
If your machine has this system, attach the clip to your clothing as instructed and locate the stop button. The Life Fitness manual describes attaching the clip to clothing and explains that pulling the cord stops the belt. Check the system on the model you’re using as well.
Don’t use the handrails for constant support
Use them when needed for balance; don’t keep walking or running while hanging onto them. The manufacturer’s manual says the handrails are for maintaining balance, not continuous use. If you need them, lower the setting and reassess the session.
Stop the belt completely before stepping off, and wear shoes
The same manual says not to use the treadmill barefoot and to wear shoes with non-slip soles. Keep laces and loose clothing away from moving parts. To assess the condition of your shoes, read when to replace running shoes.
Treadmill or outdoor running?
You don’t have to choose one and give up the other completely. You can start on a treadmill if it makes access and scheduling easier; if you enjoy running outdoors, include outdoor sessions when conditions allow. The NHS beginner guide also offers the treadmill as an option. The useful choice is the one that lets you actually follow your plan.
On your first day outdoors, don’t make matching the treadmill number your only aim. Getting to know the route, checking road crossings and planning walking breaks are part of the task, too. If you’re unsure on a rainy day, use our guide to running in the rain to assess the conditions.
When comparing treadmill and outdoor logs, note the same details: session structure, incline use, walking breaks and how you felt. That way, you won’t treat two different workouts as identical just because of the kilometres on the screen. Enjoying one more than the other is useful information when choosing, too.
Is treadmill run-walk training an interval workout?
Alternating running and walking doesn’t automatically turn this session into a high-intensity speed workout. The aim here is to complete comfortable running blocks; you’re not expected to sprint just because a walking break comes next. When choosing a plan, ask “What is the purpose and effort level?” as well as “Does it use intervals?”
Pressing a treadmill’s preset interval button doesn’t mean you’ve opened the same beginner plan, either. Check beforehand how the machine will change speed, incline and duration. If you also do strength work at the gym, read running and strength training: which comes first?. You don’t need to add every option to your first session.
Which treadmill numbers should you track?
At the beginning, you don’t need to watch every field on the screen at once. If today’s plan consists of timed blocks, focus on when each block changes. You can note distance and average speed at the end. That saves you from calculating speed, chasing a distance target and watching the timer all while running.
Suppose you spend 26 minutes of a 34-minute session walking at 5 km/h and 8 minutes running at 7.5 km/h. In a simplified calculation with instantaneous speed changes, the total distance is about 3.17 kilometres: 2.17 kilometres walking and 1 kilometre running. You don’t need 5 kilometres on the screen to complete the beginner session; speed transitions may also change the actual distance slightly.
This is an example of calculating a mixed session, not a speed recommendation. Don’t log those 34 minutes and 3.17 kilometres as “Continuous running”. Make clear that the session included both running and walking, so you know what you did when comparing your logs later.
Next time, open the new session’s blocks rather than trying to beat your previous total distance. There’s no race to improve every treadmill number on the same day. Add a brief note if you like: how were the speed changes, was the setting comfortable, and did anything about using the machine cause trouble?
Calculating calories on a treadmill
If you’re curious about the session’s estimated energy expenditure, use the Running Calorie Calculator. Don’t enter the whole run-walk session as continuous running; you can assess the walking section separately with the Walking Calorie Calculator. Don’t treat incline walking as the same as flat running, or read the results as measured personal values.